Straight sawing: How to use a jigsaw
So, you've finally got hold of the incredible jigsaw from Einhell and want to know how you can use it for straight sawing? And you no longer feel like making wavy or uneven cuts in wood or other materials? Our 5 tips for straight sawing with your jigsaw are just what you need! Find out now how to become a master at the saw, what you need for a perfect guide, and the secret behind professional saw blade and guide rail handling.

The best jigsaws from Einhell
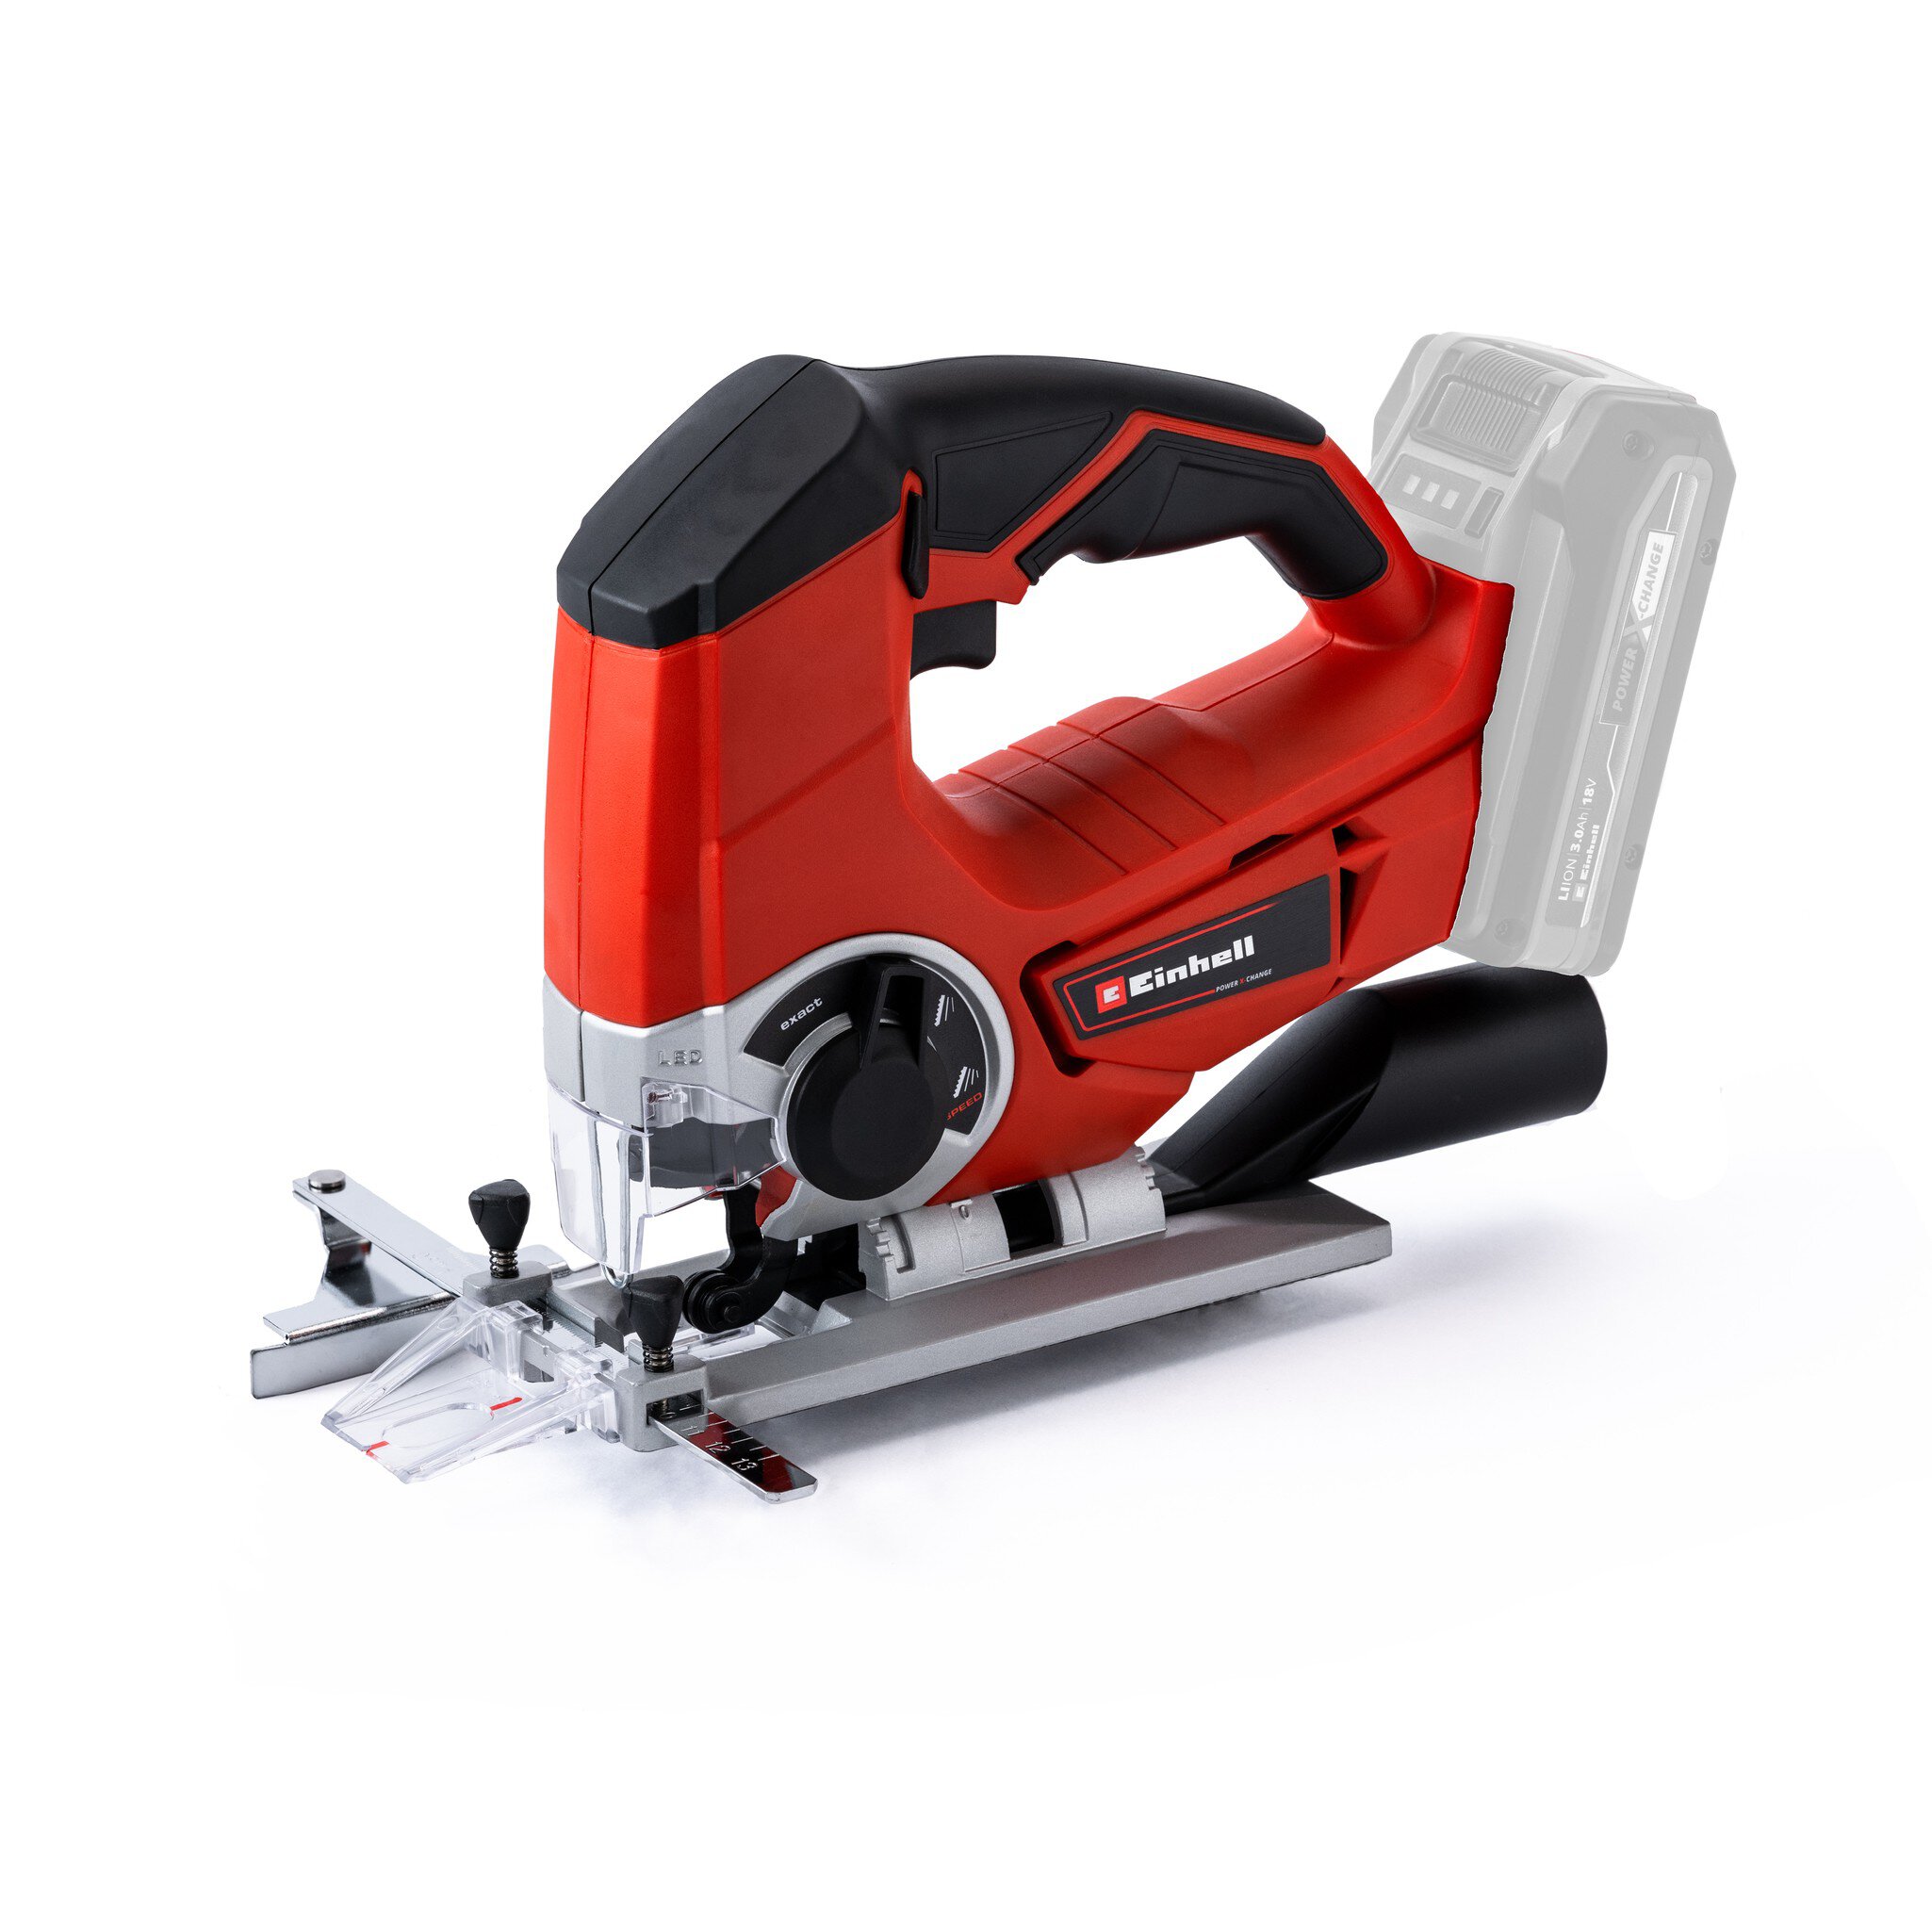
If you're still looking for the perfect jigsaw for straight cuts, Einhell offers a wide range of models with cordless or mains power operation. Whether you're working on a renovation, DIY project or some interior design, a jigsaw is one of the most important tools for any DIY enthusiast. This is why we offer a wide range of jigsaws, from the lightweight entry-level model with practical rechargeable battery from the Power X-Change system, to real professional devices with maximum performance. Whether you're working with wood, plaster, cardboard or plastic, with the right jigsaw, you can saw through almost any material with millimetre-precision and complete accuracy. In this blog, we'll explain what else you need for a straight cut as well as a good saw and a guide rail. And you can also find the best jigsaws from Einhell here.
Straight sawing: How to use a jigsaw
Tip 1: Preparation
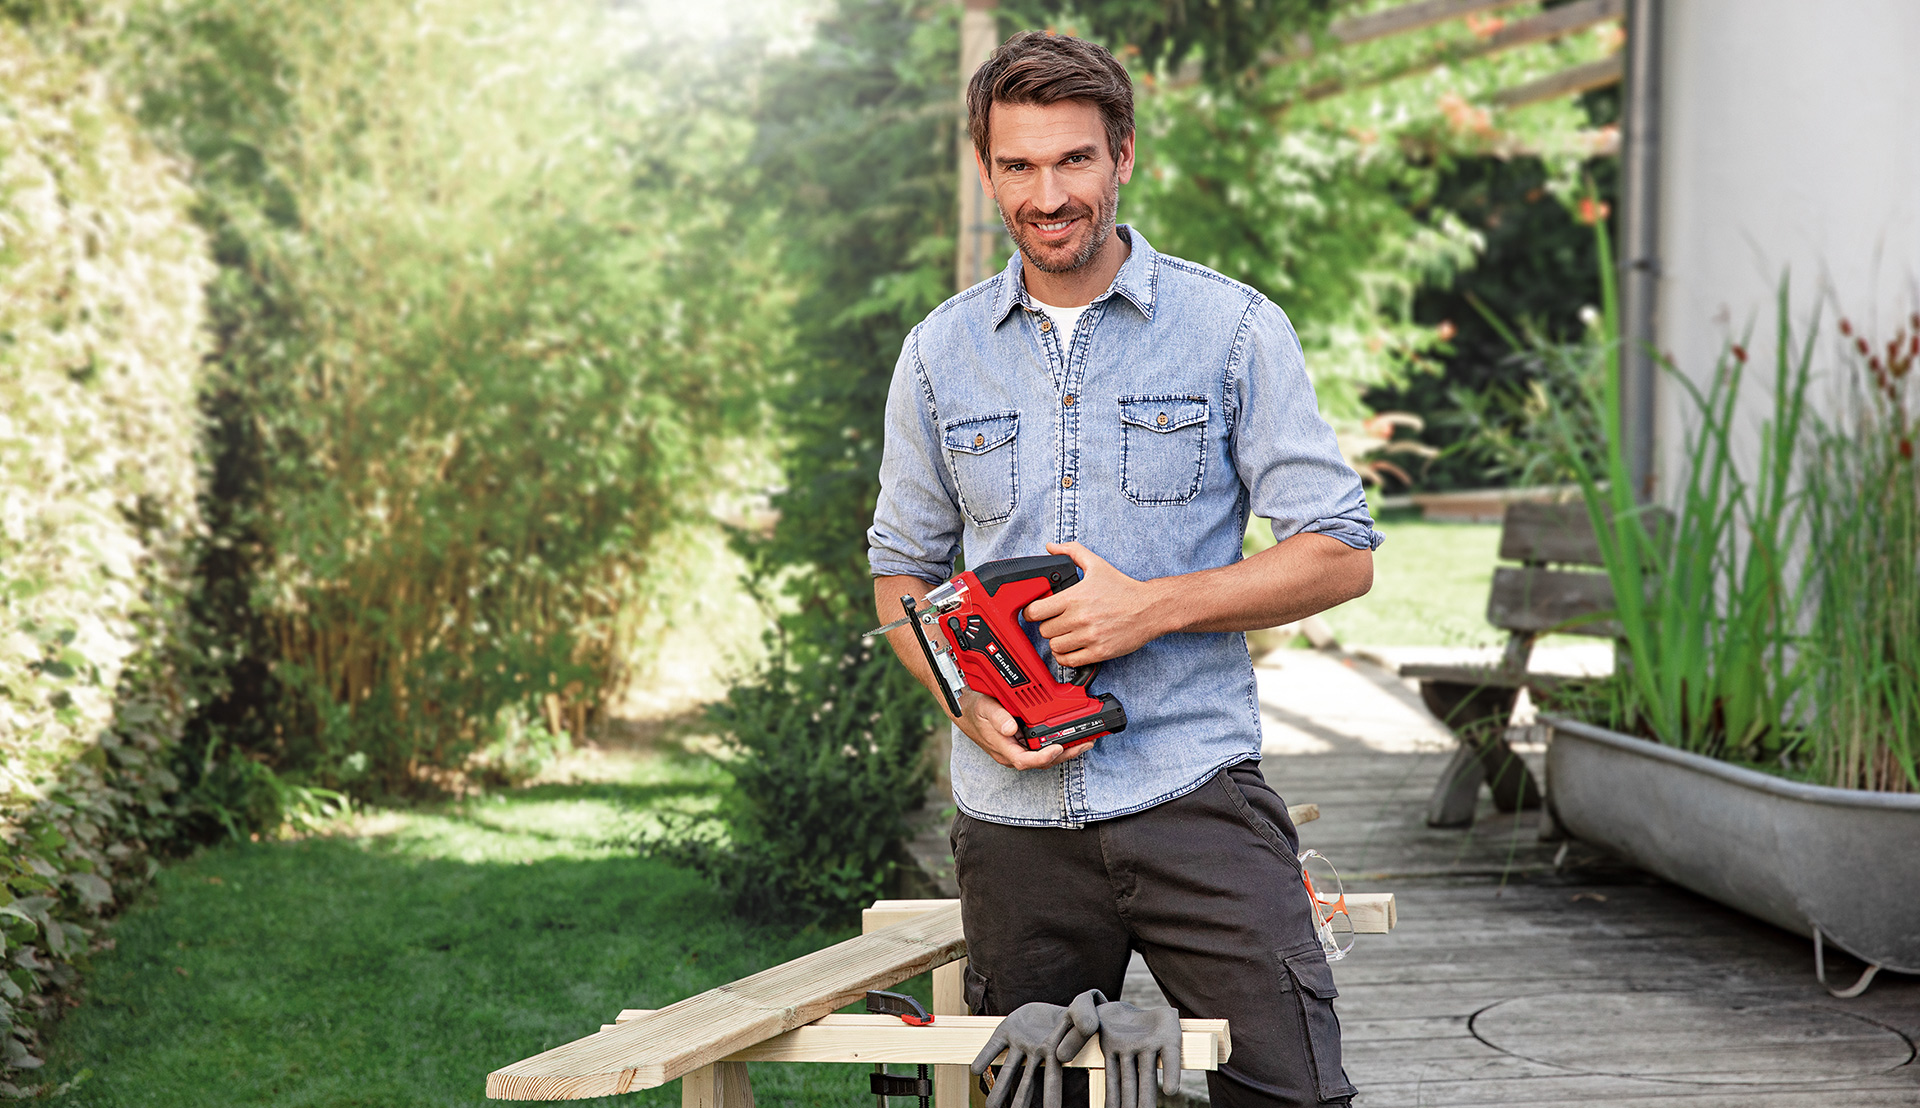
All good DIYers know that proper preparation and the right equipment are basic requirements for a successful DIY project. Of course this is also the case when it comes to sawing with a jigsaw. In addition to a saw and the right saw blade, you'll need protective clothing such as gloves and goggles at the ready – and of course your workpiece, for example a board made of wood or another material such as plastic or cardboard.
For a precise cut, it's also essential to have the right tools to help you – a long ruler, a sharp pencil and screw clamps. These will help you get a great sawing result easily and quickly.
Now, let's focus on the saw. You'll need to choose the right saw blade depending on the thickness and material of your workpiece. There are saw blades specially for wood, plastic, plaster, etc. But it's not just the material that needs to be taken into consideration; the thickness of the workpiece also plays a role. Rule of thumb: The thicker the panel and the cutting depth, the wider the saw blade should be.
Have you got all your equipment ready? Then let's move onto the next step.

Tip 2: Get your tools ready
Before we get stuck in, you need to get your tools ready. You have already decided on the right saw and the right saw blade to go with it.
If you are using a cordless jigsaw, remove the battery for now. With an electric jigsaw with a mains connection, unplug the power cord. This is so that you can be sure the jigsaw won’t start up accidentally when inserting the saw blade. Now insert the saw blade into the holder until it clicks into place. Make sure that the teeth are pointing forwards! You can now put the battery back in or plug back into the mains.
Tip 3: Draw first, then saw!
Finally ready to start straight sawing your workpiece now? To make sure that your cut is absolutely perfect, you should first draw exactly where and how you want to saw. Simply take your ruler and pencil and draw straight onto the board you’re going to saw itself. Don’t worry, no one will be able to see your pencil marks later!
Once you’ve marked everything up, you can now clamp your workpiece onto a work bench or a steady table with screw clamps. Take care to leave the workpiece far enough over the table top so that you do not get stuck when working or even cut into your kitchen table.
Tip 4: Get started!
Once everything is ready, you can finally start sawing. There are two simple options here: either you cut freehand or you cut along a guide rail. If you have several workpieces to work on and have a steady hand, the freehand method is quick and efficient. But if you want a particularly straight and precise cut, you should always use a guide rail.
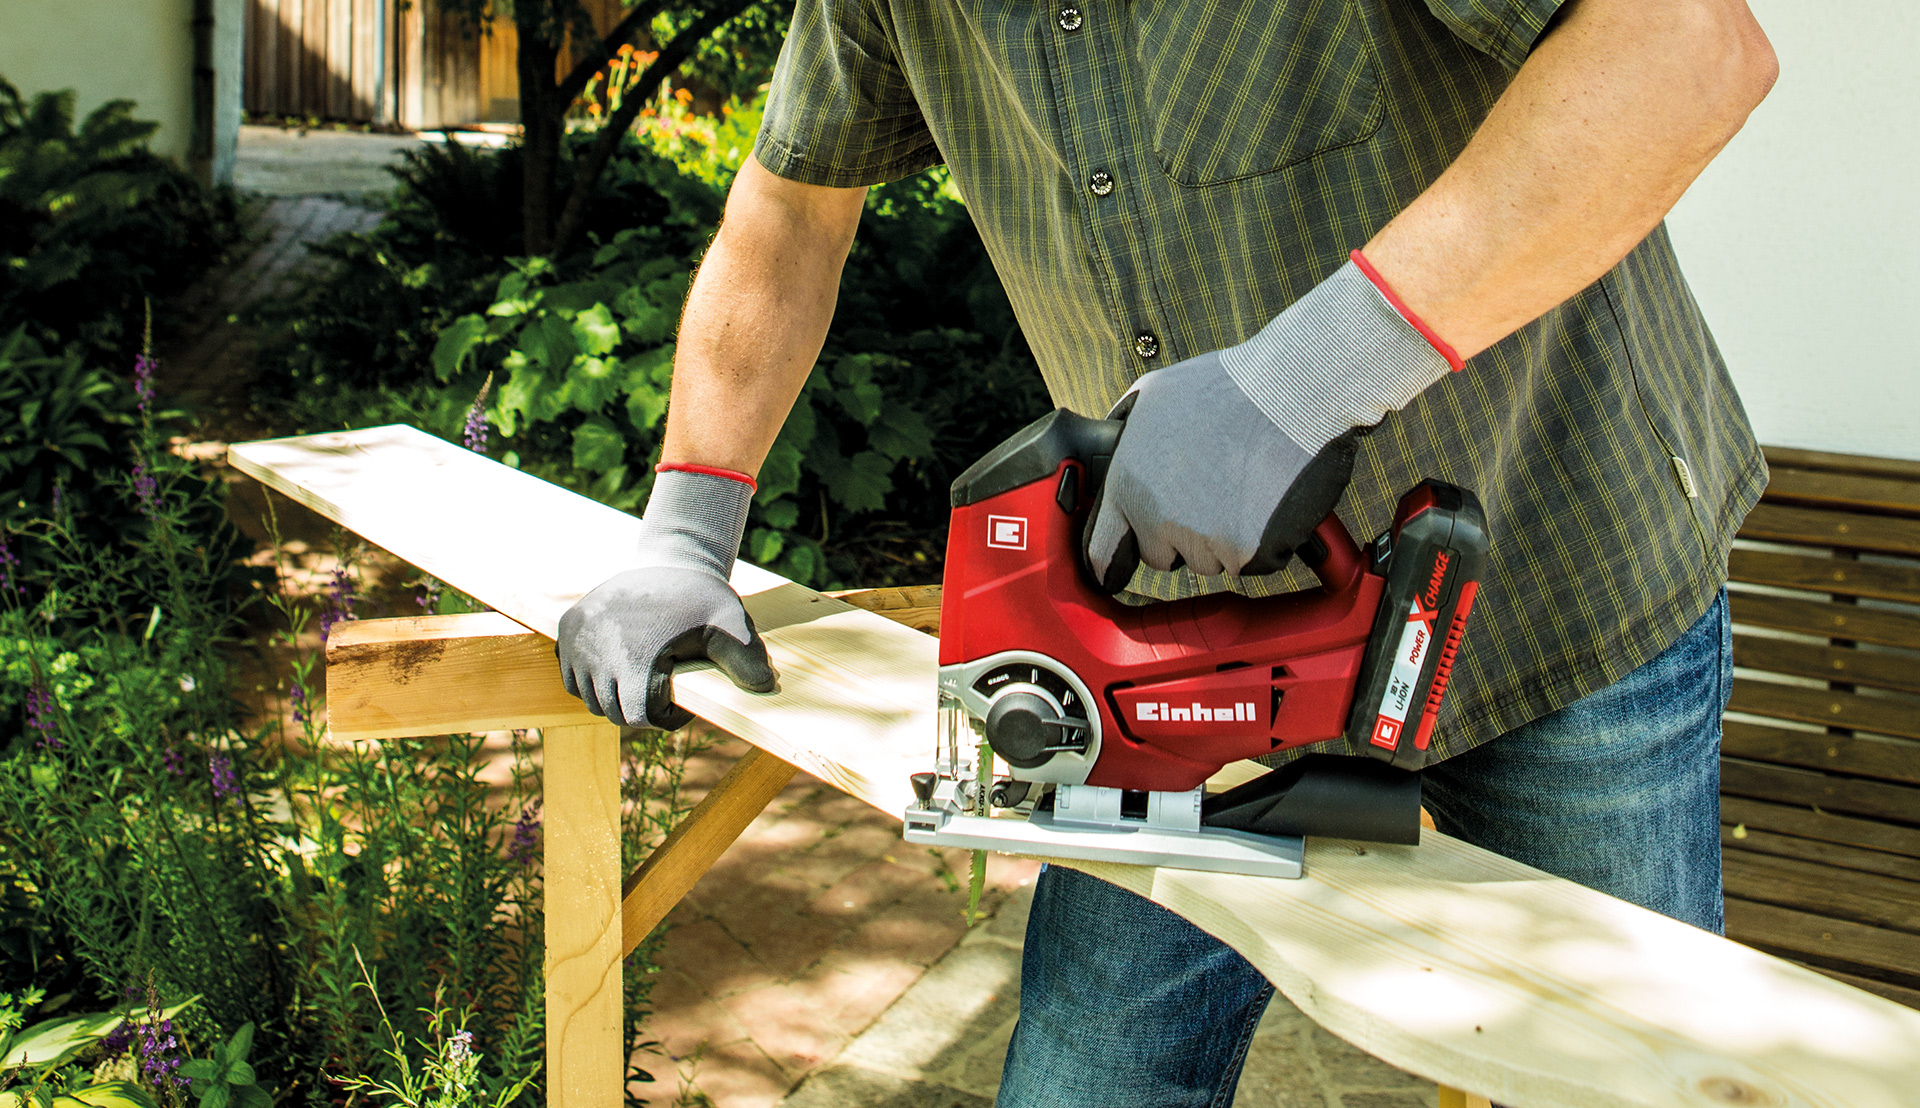
To start sawing, place your jigsaw on the edge of the board and gently guide it along your markings with light pressure. Make sure that the foot plate of the saw rests completely on the workpiece. To exert even, light pressure forwards and onto the board, it is best to hold the saw in two hands. Use one hand to guide the saw forwards with the handle, and the other to gently push downwards. This makes the saw even more stable. When sawing, make sure you can always clearly see your markings.
If you want to use a guide rail, it is best to clamp this using clamping screws. Now place the jigsaw flush against the guide rail and saw slowly and straight along the guide rail as described above. This will guarantee you get a straight cut!
If you don’t have a guide rail, you could also clamp on a wooden slat to use. Just make sure that it’s not too high, so you can still grip the jigsaw properly with your hands and guide it straight.

Tip 5: Enjoy a perfect result!
When you reach the end of your markings, turn off the saw and wait until it has come to a complete stop. Only then can you gently pull it backwards out of your board. This will prevent damage to the saw blade or tearing at the cutting edge.
And as any real DIYer knows, now it’s time to clean up and continue working on your sawing result. Congratulations on your perfectly straight jigsaw cut.


